
Sub-sections of Forms
All Forms
This view lists all the forms that have created, regardless of whether they are enabled or not. If you hover over a form, you will see options to edit the form, fields edit the forms settings, view the form entries, preview the form or duplicate the form.
Along the row, you will also see the unique form ID, how many submissions the form has had, how many times the form has been viewed (which may not be accurate because all forms are present behind the scenes so one page load will add one view to all forms whether the form has actually been opened by clicking on a tile or not) and finally the conversion ratio of entries to views.

If you wish to no longer use a form that has been created, you can either a) disable the form by toggling the little green switch to the left of the title, this will hide it from the website, and this can be re-enabled at a later date, or b) delete the form by ticking the box to the left of the form, click in to the ‘bulk actions’ drop down and select Move to Bin, this will remain in the bin until it’s manually emptied.
New Form
There is no limit to how many forms you can create on your SurgeryWeb website, and you can create forms for a whole range of reasons. Perhaps you want to create online versions of clinical questionnaires such as a PHQ9, or just get some general feedback about a particular topic, whatever the reason it is very simple to create an online form and embed it in to a page.
Simply click New Form, you will see a dialog to give your form a title and description (descriptions are hidden from view on the website), and then click ‘Create Form’, you will now be in the Form Editor.
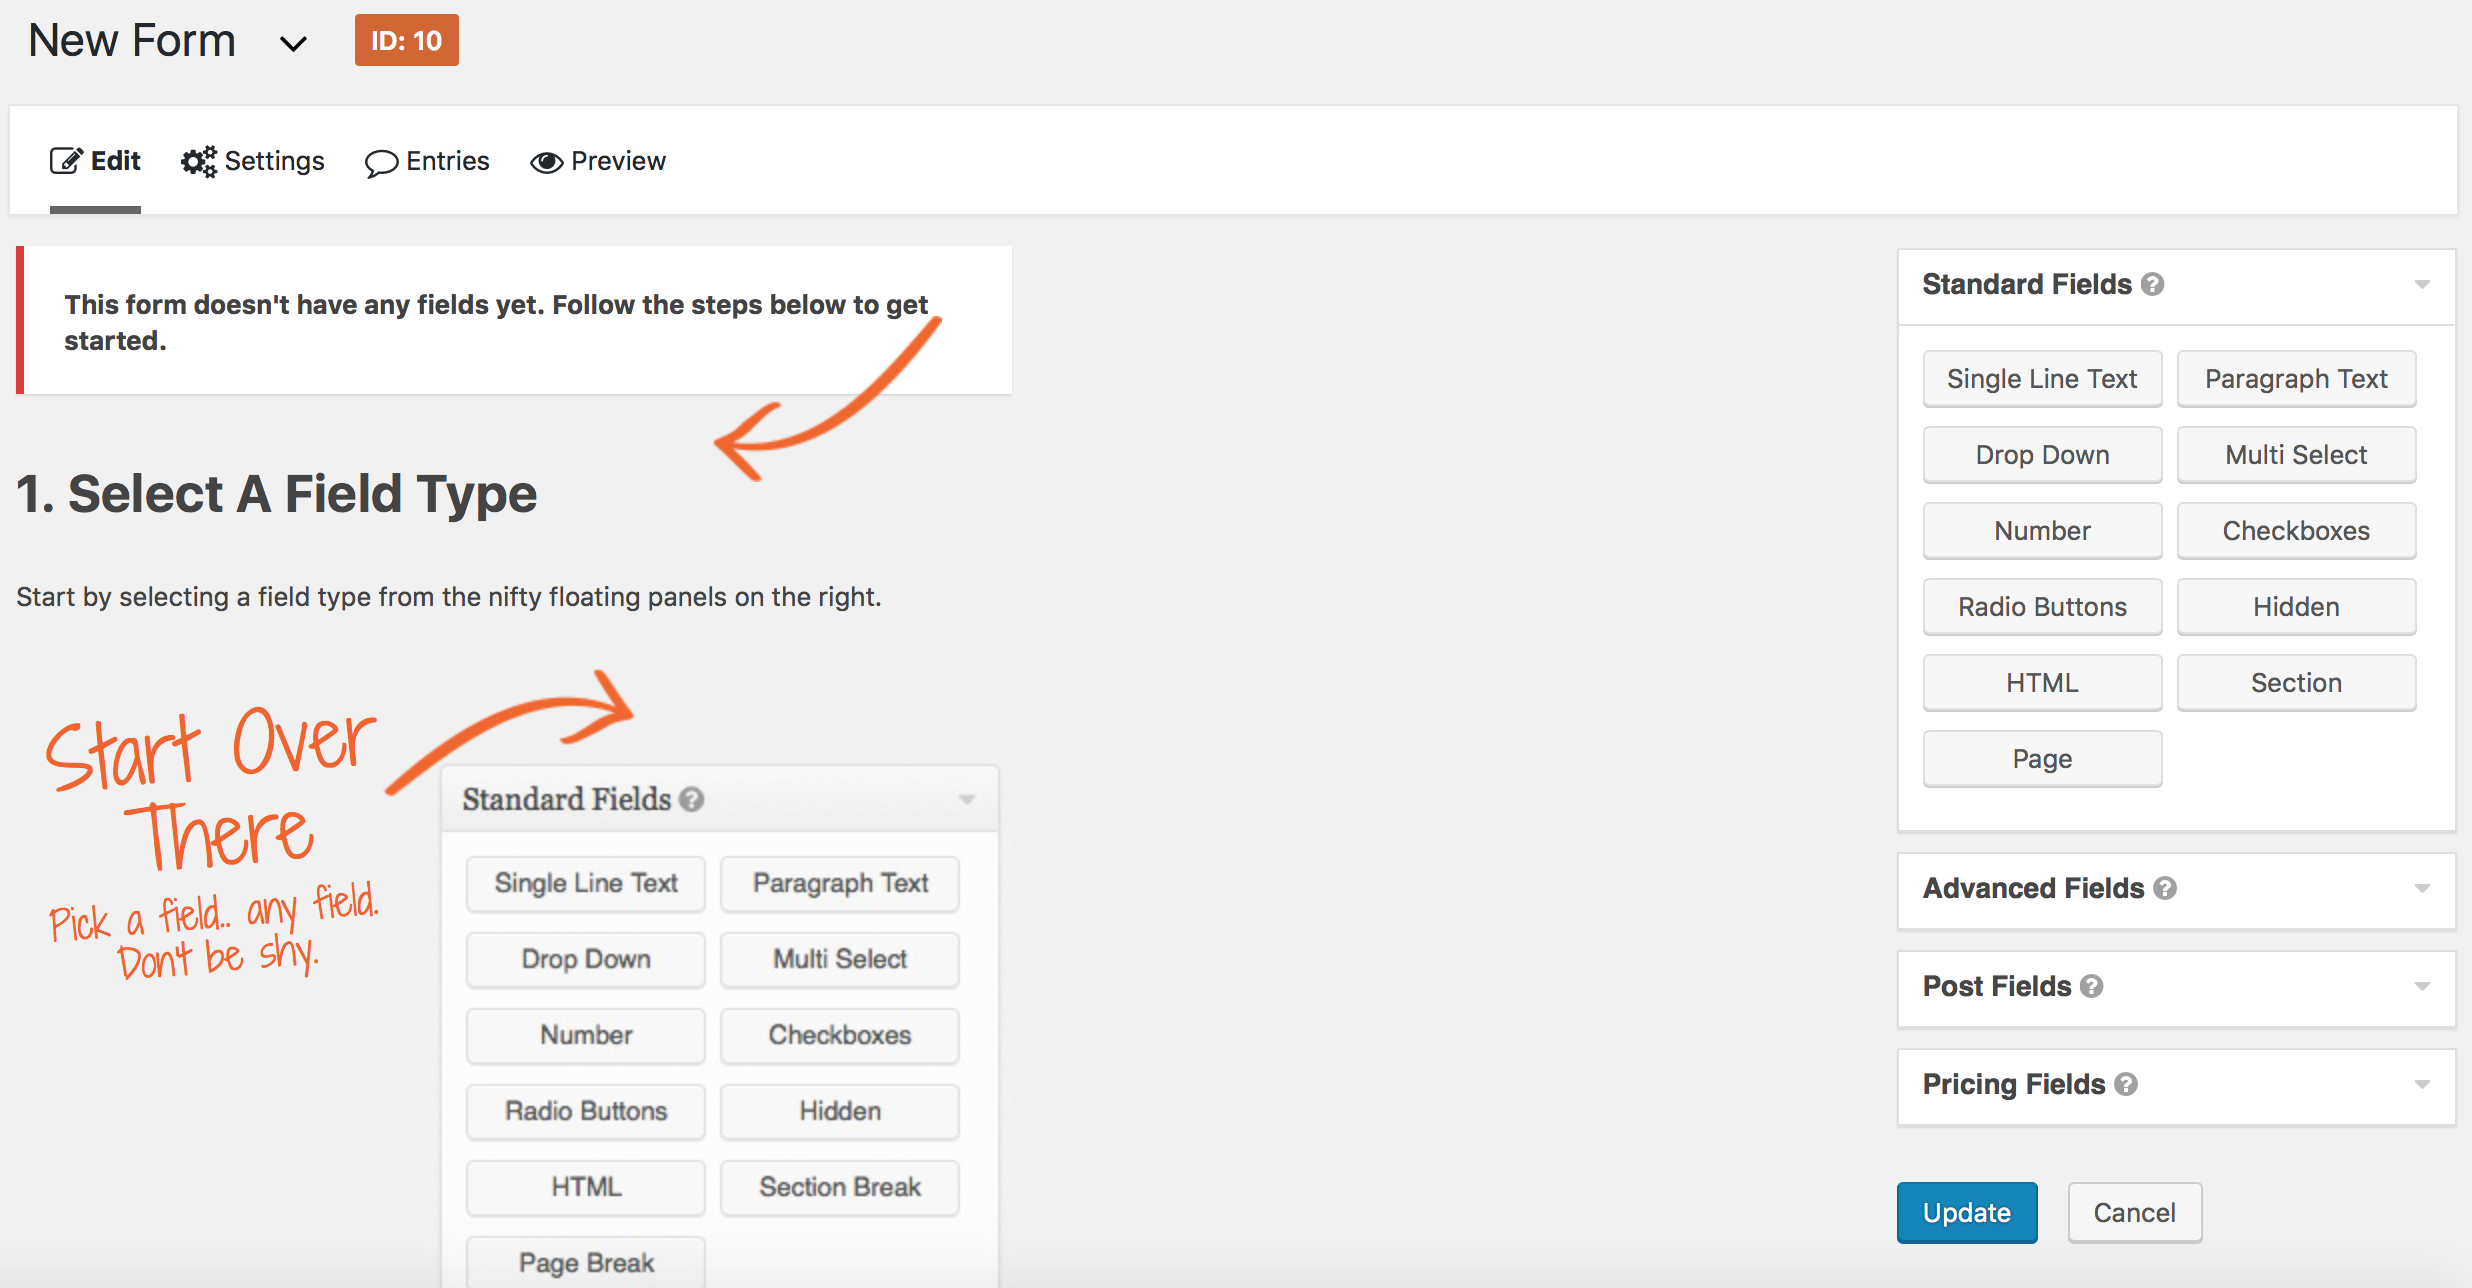
The Form Editor gives you a few brief tips to get started, you just select a field type from the list of fields on the right hand side and the editor will insert this field in to your form. You then have a series of field options such as field label (this will be displayed on the website but also in the email notification that you will receive), field description (which will display under the field on the website, but you can change the placement of this either in Form Settings or on the Appearance tab within your field options), ‘required’ which when ticked won’t allow patients to submit the form until the field is populated, some fields also let you set a maximum number of characters etc.
Once you have finished adding all of your fields, click Update on the right hand side and your form will be saved.
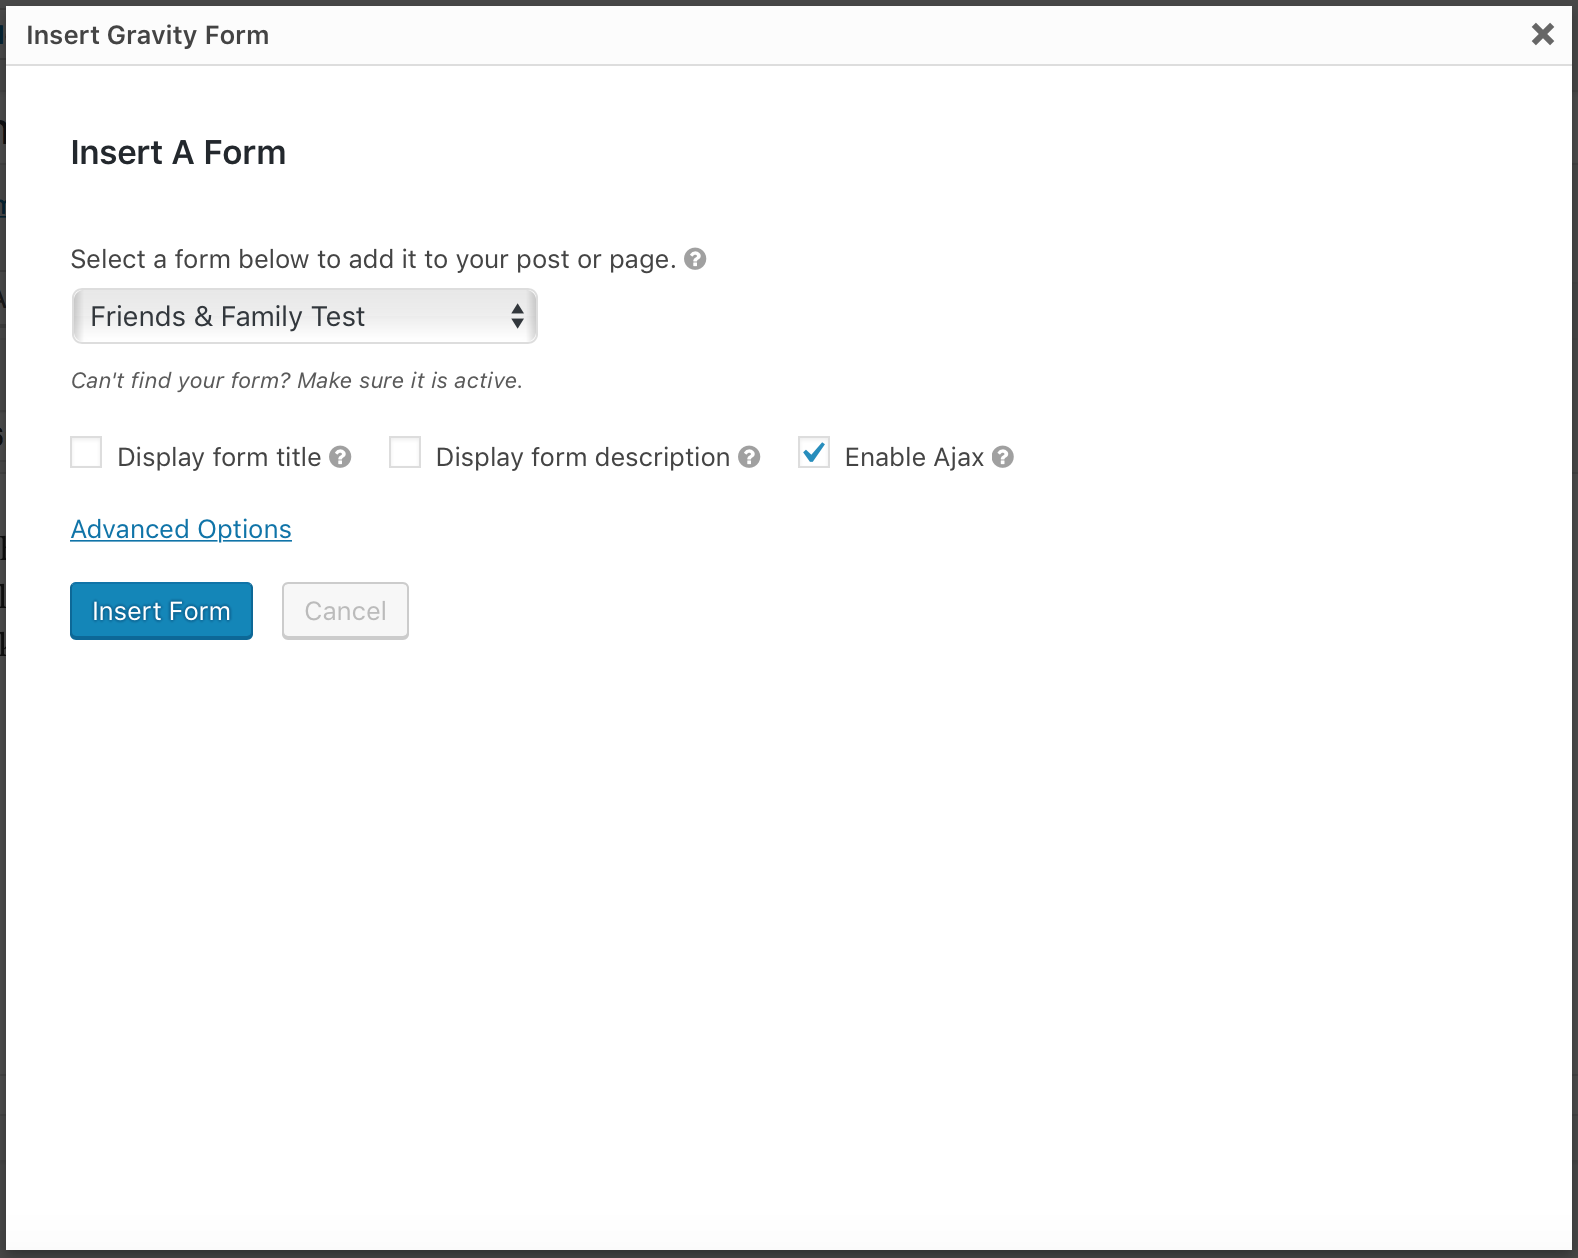
Finally, you need to embed your form in to a Post or Page so that your web users can view and submit it, just create a new Post/Page or edit an existing one, and there is an ‘Add Form’ button above the content editor. When clicked, you need to select the form to embed, if you want to view the form title, form description (hidden from view on SurgeryWeb websites), and whether to enable Ajax or not (this determines what happens when the form is submitted, enabling ajax will submit the form on the page when clicked but leaving this disabled required the page to refresh to submit, ticking this is recommended).
Entries
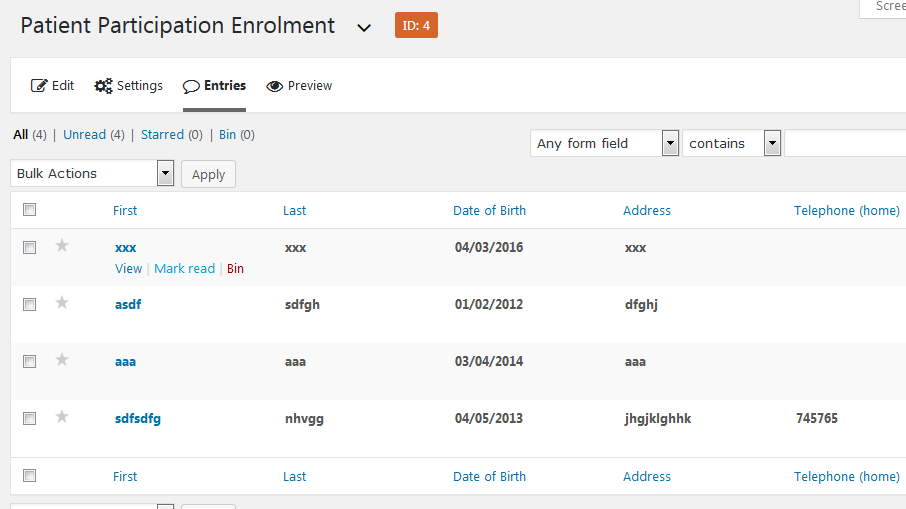
When you first click Entries, this will list all submissions from the form with the lowest unique ID (the earliest form to be created), and you can change which form to view the entries for using the drop down at the top of the page.
Hovering over an entry will give you options to view the entry, mark it as read (bold entries are unread) and move the entry to the bin.
When you view an individual entry, you will see all of the field values listed, the exact date and time that the form was submitted, the IP address of the user who submitted the form in case of any abuse and the link to the page that the user was on when they submitted the form.
From this screen you can also print the individual entry.

Import/Export
You have the ability to export your form entries, export the actual forms (in case you have created a form that you would like to share with another SurgeryWeb user) and import forms (if you’ve been sent a form from another SurgeryWeb user).
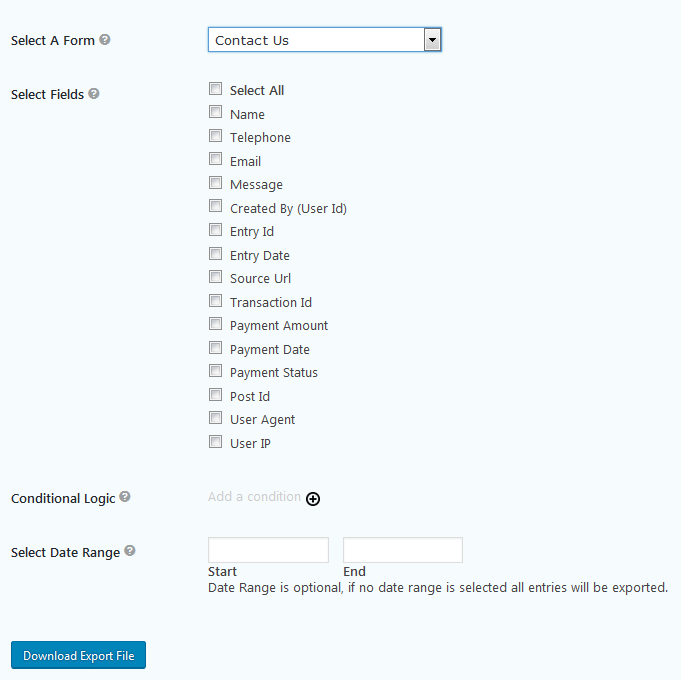
To export your form entries, simply select the relevant form from the drop down field, you will then see a list of tick boxes below. These tick boxes are to determine what data you would like to export and include your form fields data, the submission data (such as entry date, time, user IP etc.) and there are other fields related to payment data but this is not relevant to the SurgeryWeb forms.
Finally you can specify a date range or leave blank to export all.
Exporting a form is as easy as selecting what form to export and then clicking the ‘Download Export File’ button, and importing forms is equally as easy as uploading the export file and clicking ‘Import’.
Changing the recipient of form submissions
When a form on the website is submitted, a notification email is sent to an email address of your choice, and by default this is set to the Primary contact that we hold for the Practice which is the user that signed up to SurgeryWeb, usually the Practice Manager.
To change the email address that the notifications are to be sent to, go to ‘Forms’ from the left menu in the dashboard, this will list all forms. Hover over the form that you want to amend the notification settings for and you will see some options appear below the form title, hover over ‘Settings’ and you will see a further 3 options appear in a drop-down, then click ‘Notifications’.
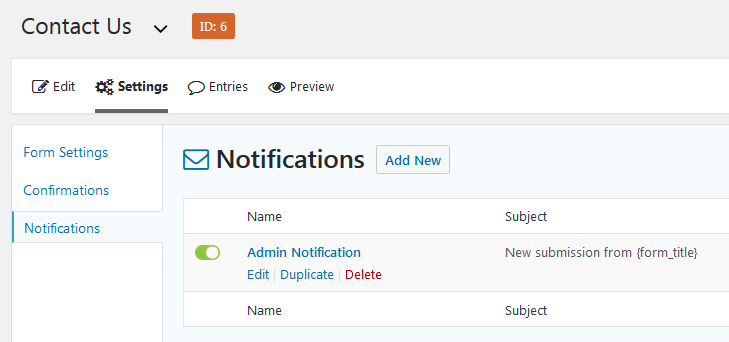
This will list all notifications that are set to send when your selected form has been submitted, there is always 1 by default but you can create more if you would like an email sent to more than 1 member of staff. Hover over the notification title and click Edit.
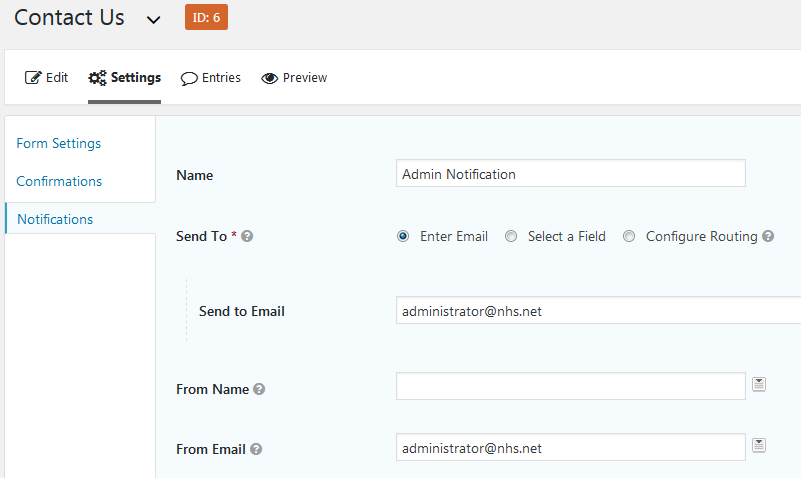
Finally, change the email address in ‘Send to Email’ and also ‘From Email’ to the desired recipient, and click ‘Update Notification’ at the bottom of the screen to save.
You need to do this for each form that you wish to change as settings are per form, not global.
Settings
When you are in the ‘All Forms’ view and hover over a form, you will see an option to go to Settings, but hovering over settings then gives you 3 further options.
Form Settings
Form title – This is used to identify your form within the list of ‘All Forms’ but is hidden from view on the actual website.
Form description – This is hidden from view on the website.
Form layout – These are styling options for the form itself.
Form button – By default, the submit button is styled to look like a button and is labelled ‘submit’ but you can either change the wording on the button or change the button completely by uploading an alternative image, you will need to upload your image to the Media Library first and then copy/paste the URL of the image in to this text box.
Save and continue – This will allow patients to save what they have entered and return to the form at a later time, this is not relevant to any of the short forms that are on the website by default.
Restrictions – You are able to set a limit to the number of entries you receive on a specific form, schedule the form to only be available between certain dates (and patients will see a custom message when trying to access the form outside of these dates) or require the user to be logged in to submit the form.
Form options – These settings are not relevant to the forms on the website as other security measures are in place.
Confirmations
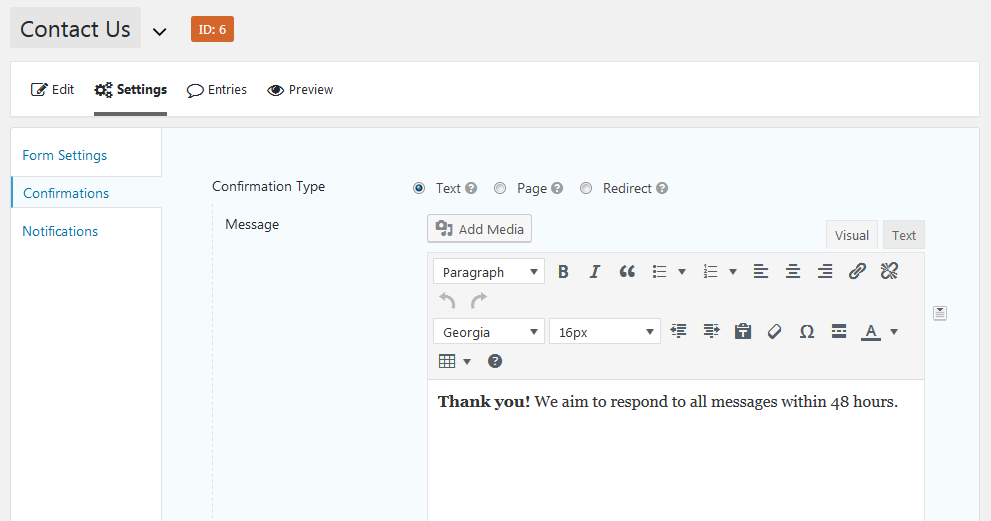
Confirmations are messages that the patients will see once they have clicked submit, to confirm that the form data has been sent. By default, the message reads “Thank you! We aim to respond to all messages within 48 hours.” but this can be changed to anything you like.
Although if you would prefer not to just display a text message, you have the option to redirect the user to another page on the website (e.g. a ‘Thank you’ page containing a message, some images and further information etc..) or to an external website.
Notifications
Notifications are the e-mails that are sent to notify you that a form submission has been made and these emails contain the submitted data, there is no limit to how many notifications you can have so if you would like an email to be sent to the Practice Manager, the Deputy Manager, the IT Manager and the Administrator then you can create 4 notifications, each with the staff members email address in the ‘Send to Email’ field.
There are also options for the email subject and e-mail content.
 Top
Top