SurgeryWeb Support Centre
How to Edit the Key Feature Tile Grid
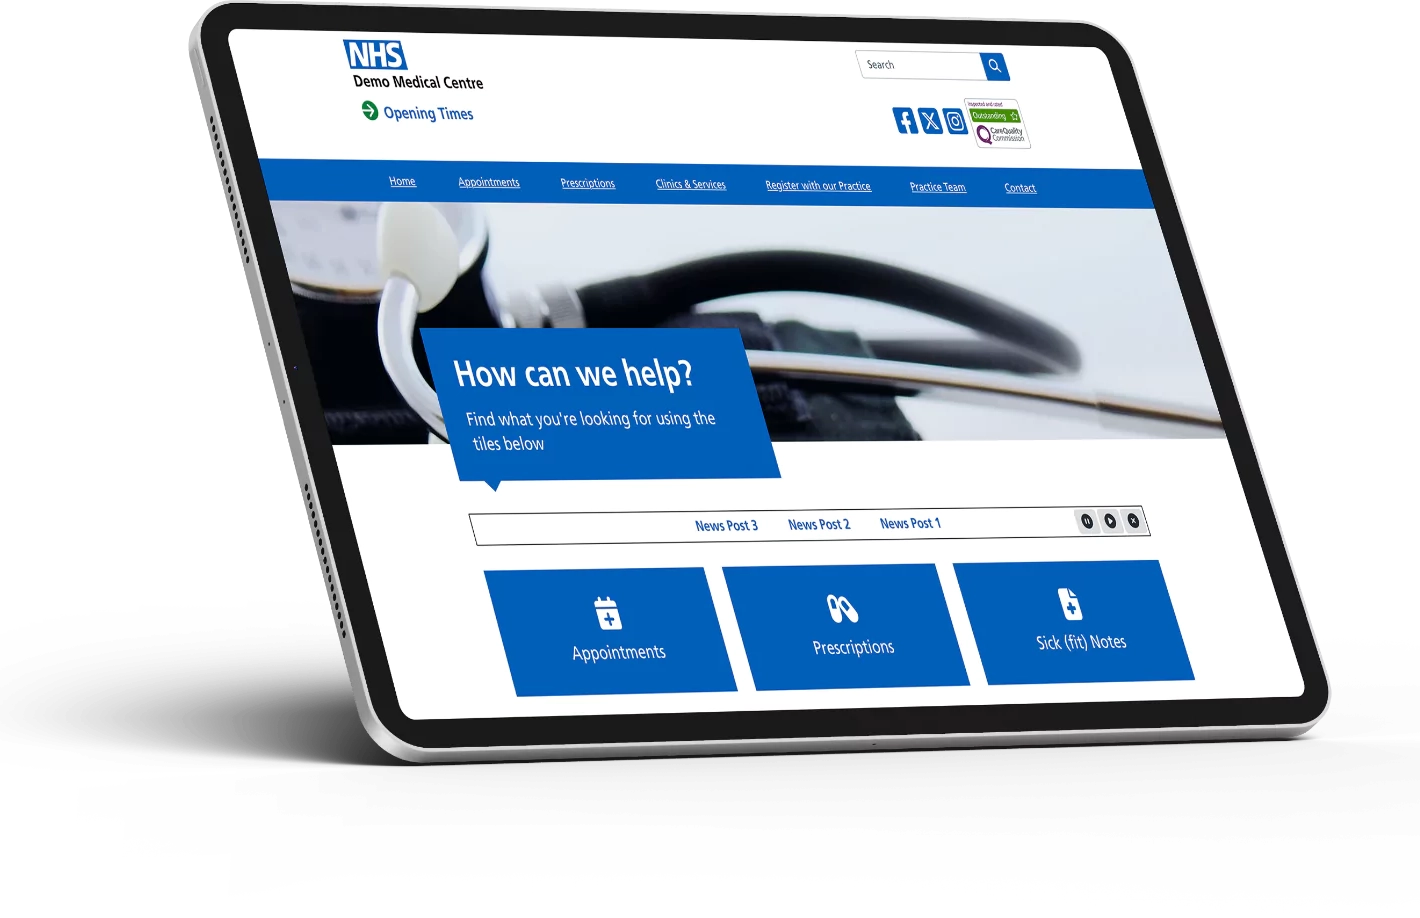
The Key Features Tile Grid refers to the six tiles displayed on your Home Page that provide links to Appointments, Prescriptions, Sick/Fit Notes, Test Results and Joining the Practice, plus one other that has been chosen by your Practice.
You can change how these are displayed and change the heading/label, icon and link, if required.
To make any of these changes, navigate from the dashboard’s left menu to Home Page > Key Feature Tiles
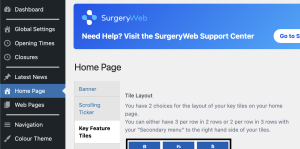
Once you have selected the Key Tile Features from the left side menu, the editing functions should be displayed. Follow the steps listed below for the update that you want to make:
Changing the Grid Formation
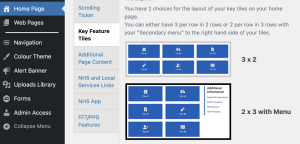
You can switch between displaying the tiles as 3 x 2, or as 2 x 3 with the Additional Information menu displayed to the right of the tiles.
To do this, click on the required display shown at the top of the page:
Now click on the ‘Update’ button under the Publish sidebar on the right to confirm the changes.
To Change Heading, Icon and/or Link
If you want to update the heading or icon displayed, or the link that the tile directs users to, scroll down to the next section where you will see the editing options for each Feature Tile:
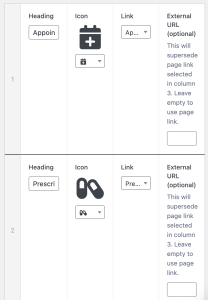
Heading
To update the heading for a Feature Tile, click in the box under Heading and delete the current title and write the new one.
If this is the only change you want to make, click on the Update button under the Publish section.
Icon
To change the Icon displayed on the tile you can select a new icon from the website:
https://fontawesome.com/search?o=a&m=free&f=classic
Once you have found the icon you want to use, click on it and it should open a screen that shows the icon and the Unicode that you will need.
Copy the Unicode in the top left corner (f02d in this example).
Now go back to your website admin dashboard and click on the current icon dropdown to open a box that says ‘Please enter 1 or more characters’ and enter the code of the icon you chose. It should now be displayed in the dropdown and you can click on it to select it.
If this is the only change you want to make, click on the Update button under the Publish section.
Link
To change the link to a new page to direct users to, you can either update it to an internal page on your website or an external page, such as a page on the NHS website.
To update the link to an internal page, click on the ‘Link’ dropdown. You should see all the pages on your website listed and you can select the one you want the Feature Tile to take users to.

Click on the Update button under the Publish section to confirm the change.
To change the link to an external page, click on the External URL (optional) box and copy the URL address of the page you want the user to be directed to into the box.
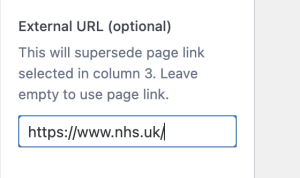
Click on the Update button under the Publish section to confirm the change.
Reordering the Feature Tiles
You can also change the order that each tile is displayed in, simply by hovering over the number in the left column to select the tile and dragging it into the position you want it to be, by dragging upwards or downwards.
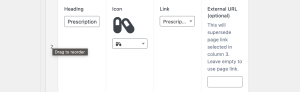
Click on the Update button under the Publish section to confirm the change.
Was this helpful? Give it a thumbs up!